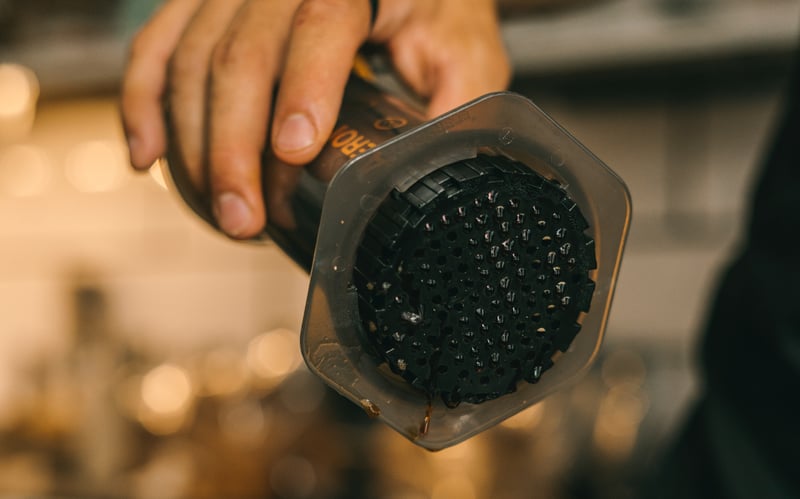
This variation on our standard AeroPress recipe switches out the initial pour of hot water for cold water instead, which tends to bring out a more fruity flavour in your brew
Here’s our step-by-step guide (or jump onto this guide’s Frequently Asked Questions):
Gear
• AeroPress
• AeroPress filter (paper or metal)
• Grinderℹ︎
• Scales
• Timer
• Stirring tool
• Mug
Goods
• 14g of coffee beans
• ~200 mL of just-boiled water
• Extra water to rinse any paper filters
ℹ︎: If you don’t have a grinder, that’s OK! You can always use pre-ground coffee, though we recommend freshly ground because it does elevate the flavour of each brew.
-
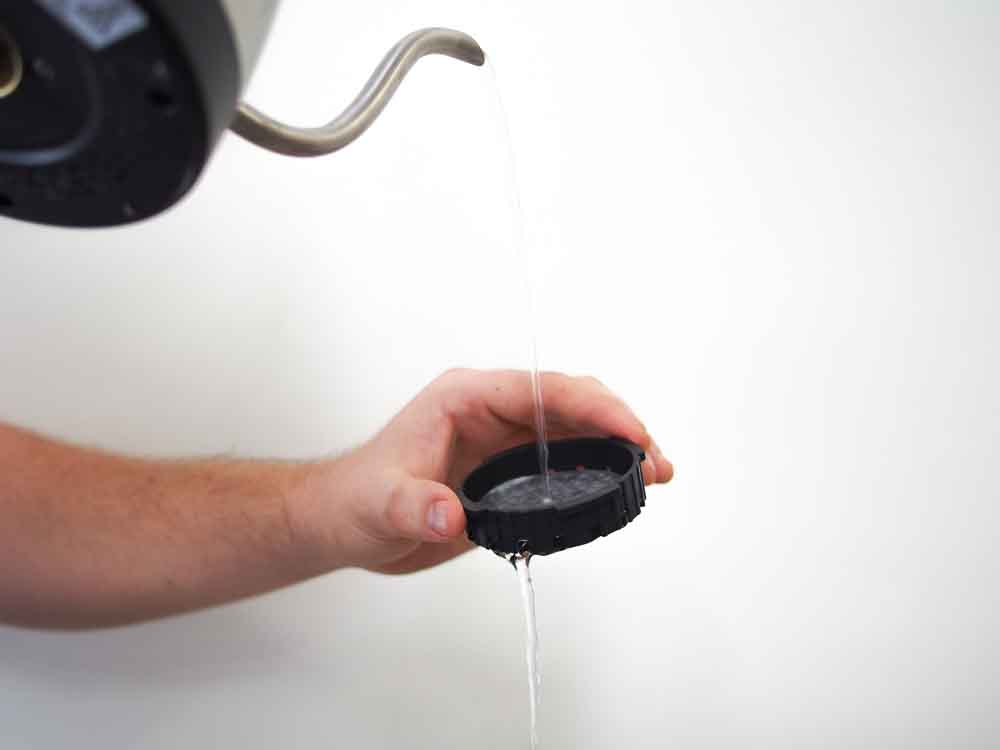
Put the paper filter into the base and rinse well.
Rinsing gets rid of the paper taste, and also pre-warms your cup (don’t forget to throw out the rinse water from your cup before brewing).
-
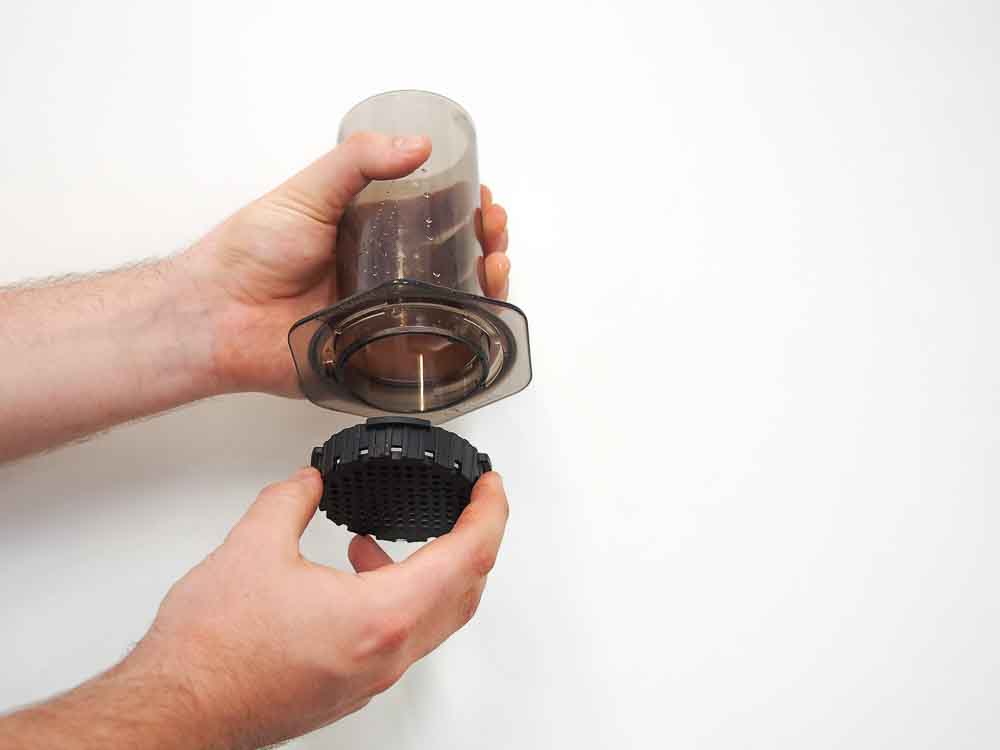
Put the AeroPress together on top of your cup.
-
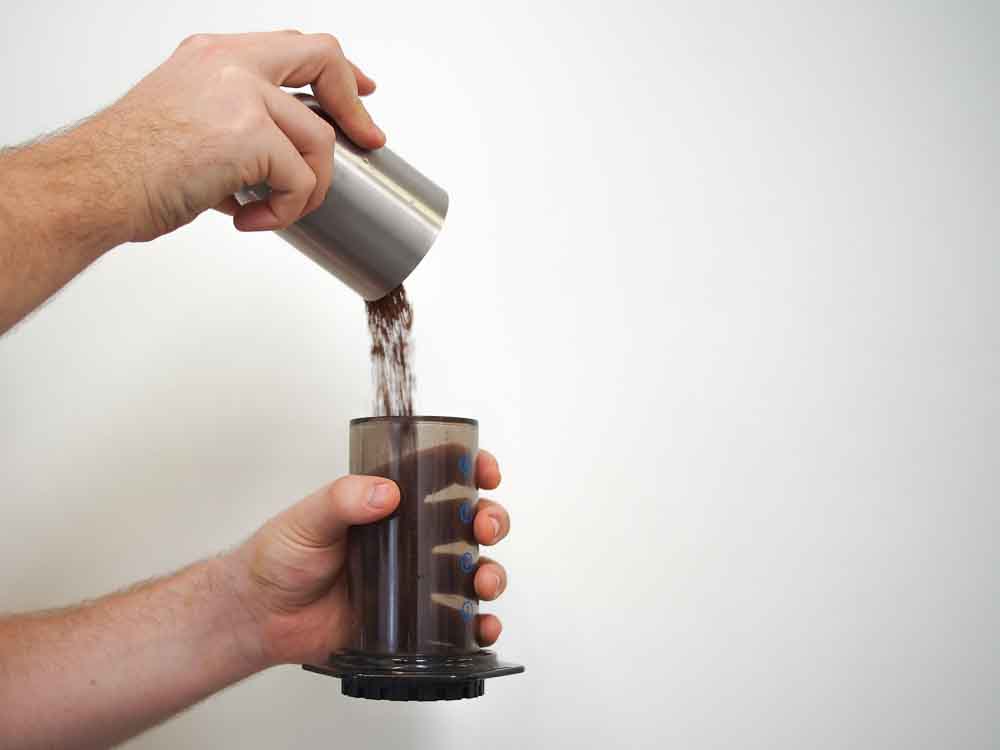
Grind 14g of coffee and place in the AeroPress.
Freshly ground is always best, and for AeroPress it should be similar in size to rough beach sand.
-
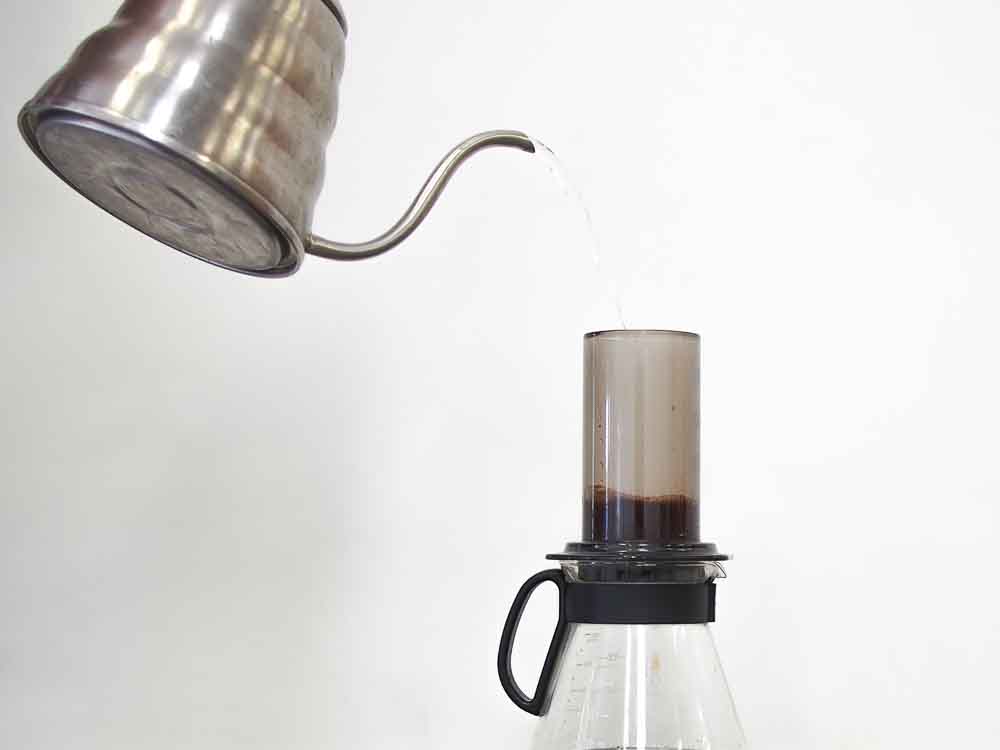
Pour 50ml of room-temperature water into the AeroPress.
If you don’t have scales, this should fill the AeroPress up to about the 2 marker).
Using room temperature water at this stage will change the flavour, usually giving you a smoother, sweeter end result.
-
Pour a further 170ml of hot water into the AeroPress.
If you don’t have scales, fill the AeroPress until it’s almost full ( just above the 4 marker).
The water for this step is best at around 92° celsius. If you don’t have a temperature controlled kettle, leave the water for a minute or two after it’s boiled. More about water.
-
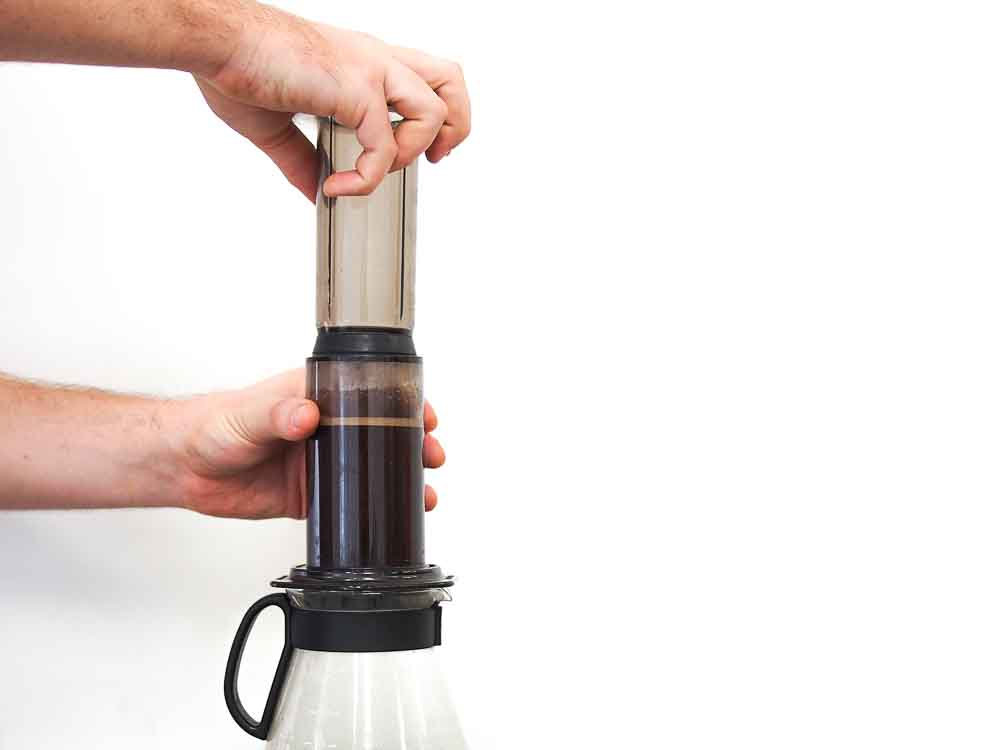
Stir well then put on the top of the AeroPress.
Once you put the top on, you’ll form a seal and stop any more water from draining through into your cup.
-
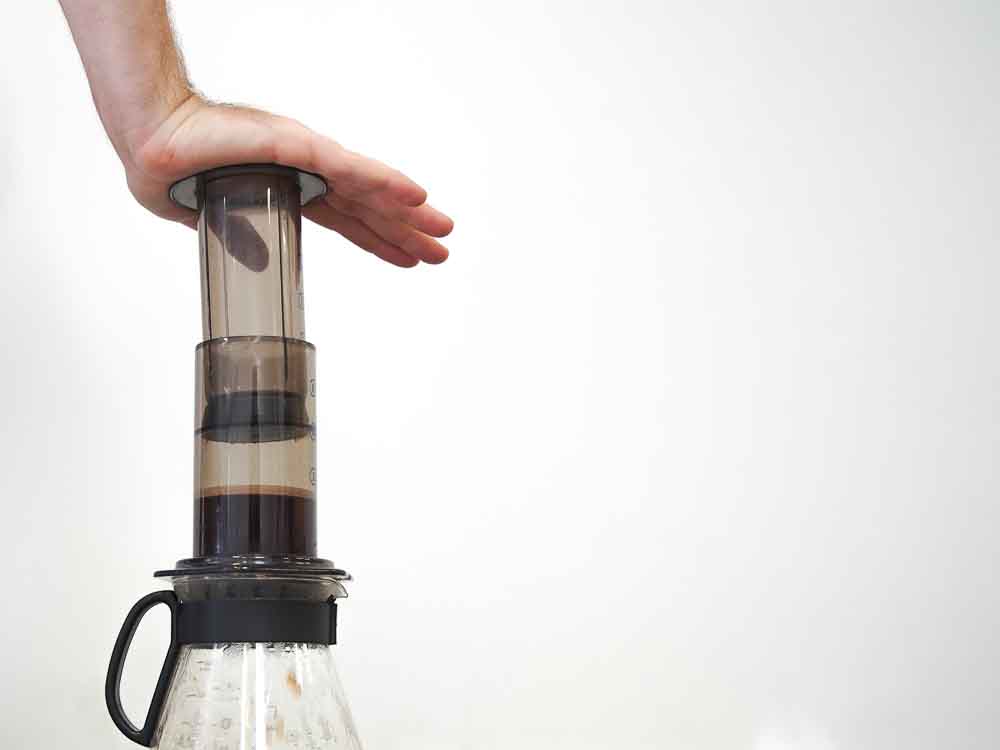
Wait two minutes and then press until you hear air hiss.
It takes a little bit of pressure to push the water through the paper. You’re aiming for this step to take around 30 seconds.
-
Enjoy!