How to brew AeroPress like Reuben
This is how Sample Coffee's founder brews AeroPress at home
When Reuben makes an AeroPress, he goes big. Why? Because he can share each brew with 1 or 2 other guests or, simply, drink a huge cup of delicious coffee.
Here’s the step-by-step guide (or jump onto this guide’s Frequently Asked Questions):
Gear
• AeroPress
• AeroPress paper filter
• Kettle or alternative hot water source
• Grinderℹ︎
• Scales
• Timer
• Stirring tool
• Mug
Goods
• 19g of coffee beans
• 270g of just-boiled water ♨︎
• 1g of coffee beans for seasoning the grinder (optional)
• Extra water to rinse any paper filters
ℹ︎: If you don’t have a grinder, that’s OK! You can always use pre-ground coffee, though we recommend freshly ground because it does elevate the flavour of each brew.
♨︎: In our recipes, we measure water in grams because we use scales, and it’s easy to achieve precision this way. However, if you don’t have scales, the conversion is easy: 1g=1mL.
-

Put the paper filter into the cap, screw it into the brewer and place it onto a mug.
-

Rinse the filter with warm or boiling water.
Rinsing gets rid of the paper taste, and also pre-warms your cup (don’t forget to thoughtfully discard this water!).
-

Set your grinder to medium-fine, and season it using 1g of coffee. Discard these grounds.
Whenever I can, I season the grinder to purge any old or differently-sized ground particles from previous grind doses. It’s not absolutely necessary, but I think it helps to achieve a better flavour!
At home, I use a Breville Smart Grinder, and for brewing AeroPress I set it at 48-49. -

Grind 19g of coffee and place in the AeroPress.
Remember to place the mug and brewer on top of the scales, and tare to 0g once the grounds are in.
-
Pour 90g of just-boiled water into the AeroPress and give it a stir.
While filtered may be the best, I simply use tap—Sydney’s water is pretty good!
-
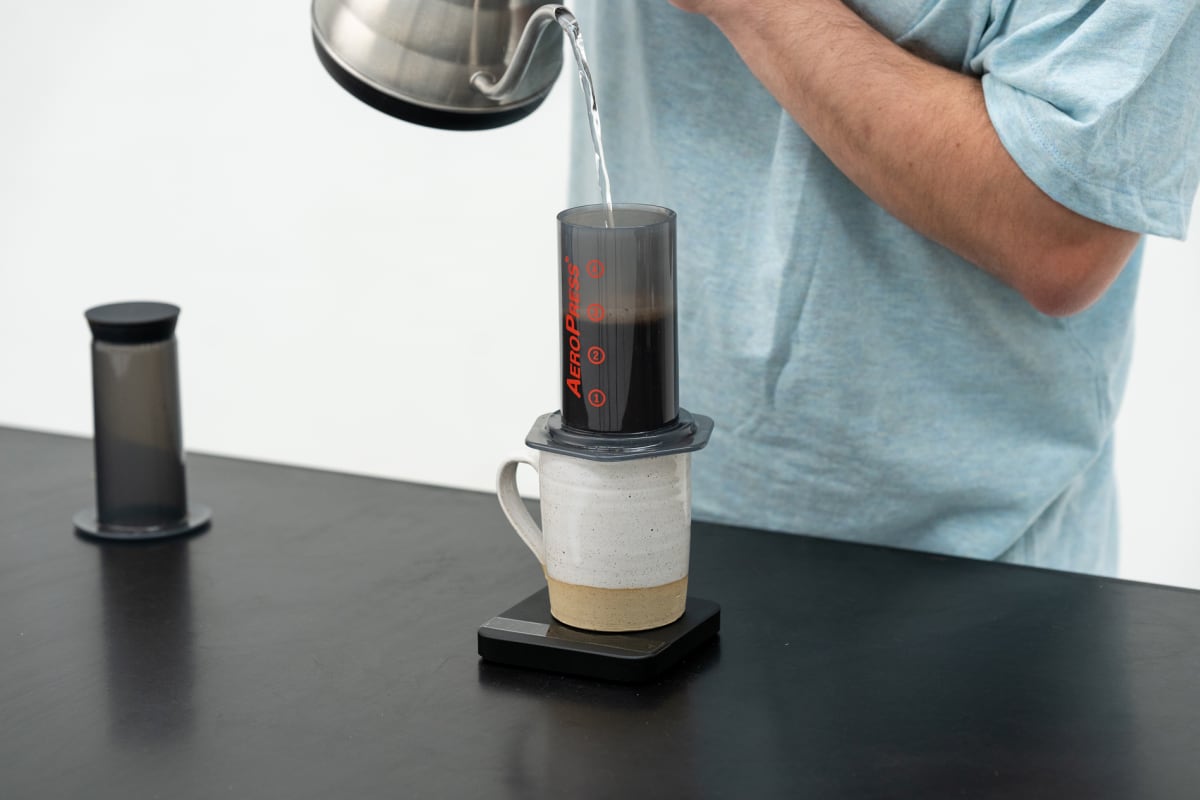
Keep adding water until reaching 270g mark, and then attach the plunger (top part) of the AeroPress.
Once you put the top on, you’ll form a seal and stop any more water from draining through into your cup.
-
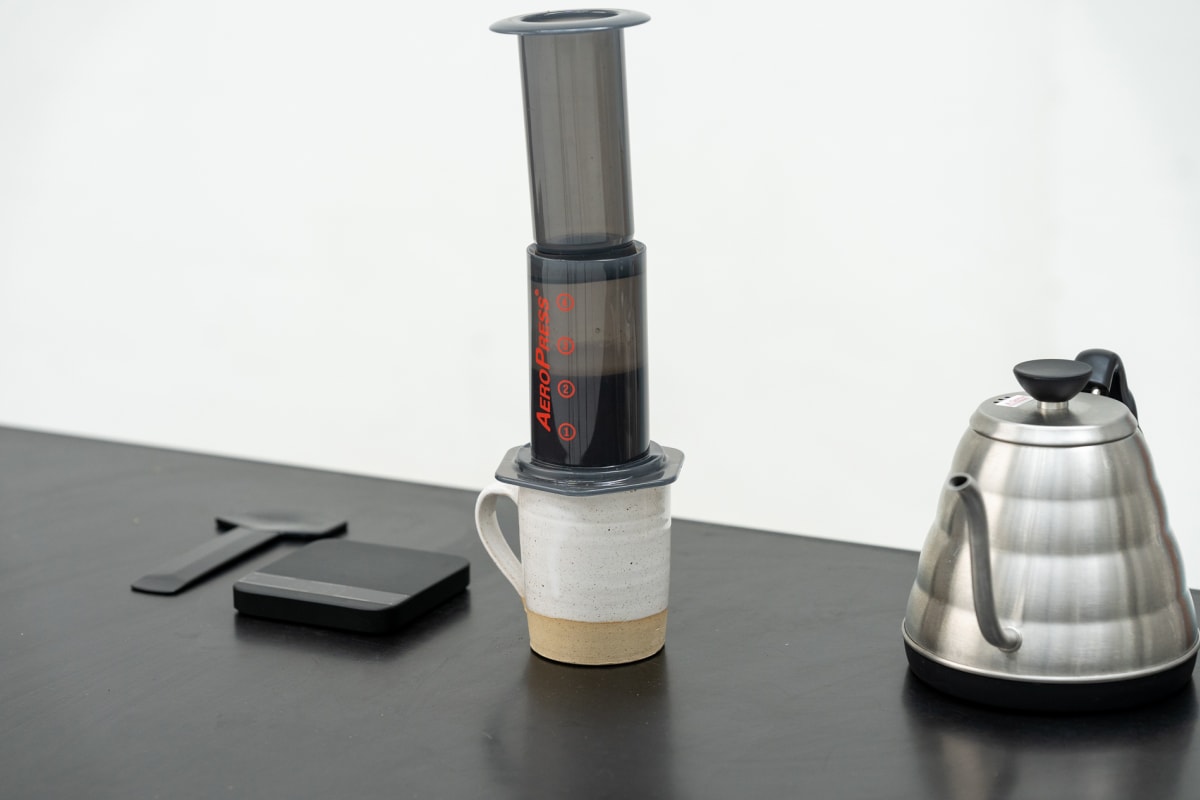
Start the timer and wait for 2 minutes. Then, remove the plunger and stir once again.
This will help increase extraction and give you a stronger flavour! At this stage, you can remove the scales from under the mug+AeroPress in preparation for the next step—pressing onto them is not great.
-

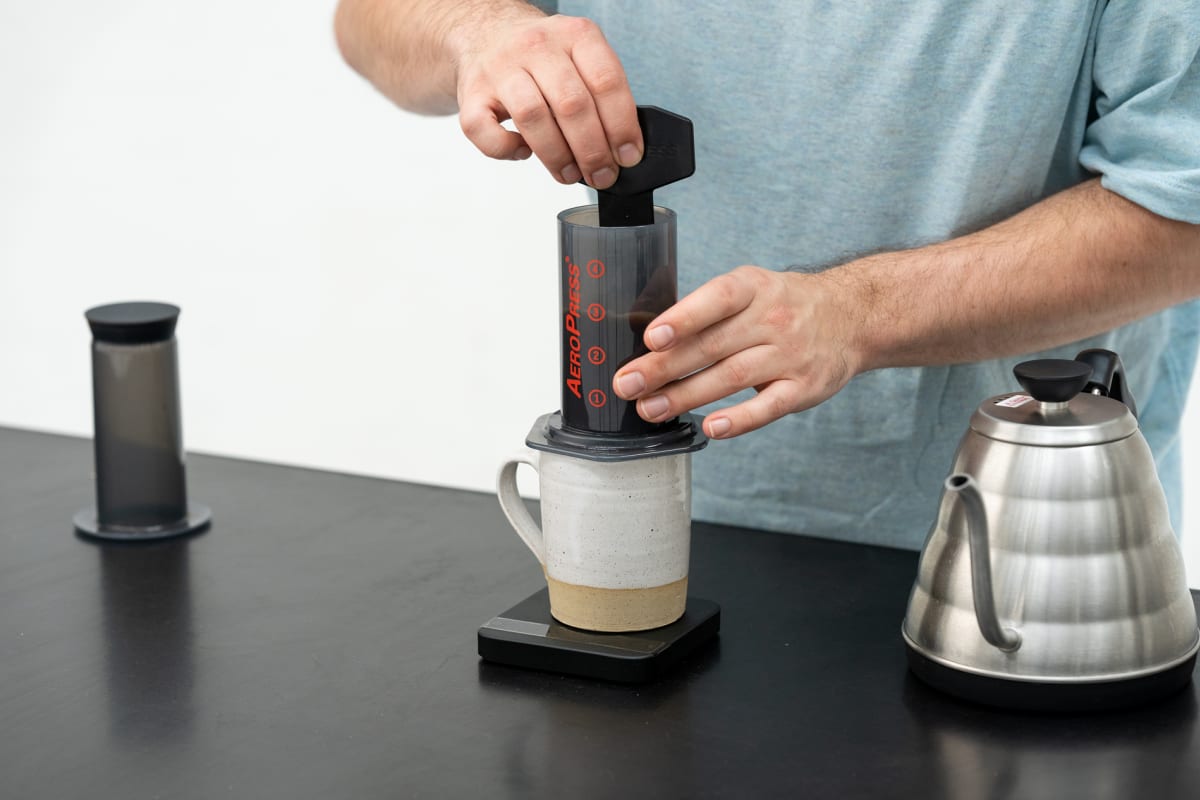
Reattach the plunger and press gently.
It takes a little bit of pressure to push the water through the paper. You’re aiming for this step to take around 30 seconds.
If the coffee comes out too quickly, grind finer; if the water comes out too slowly and is difficult to press, grind coarser. -
Remove the AeroPress, and enjoy!
Share it or drink it all yourself.